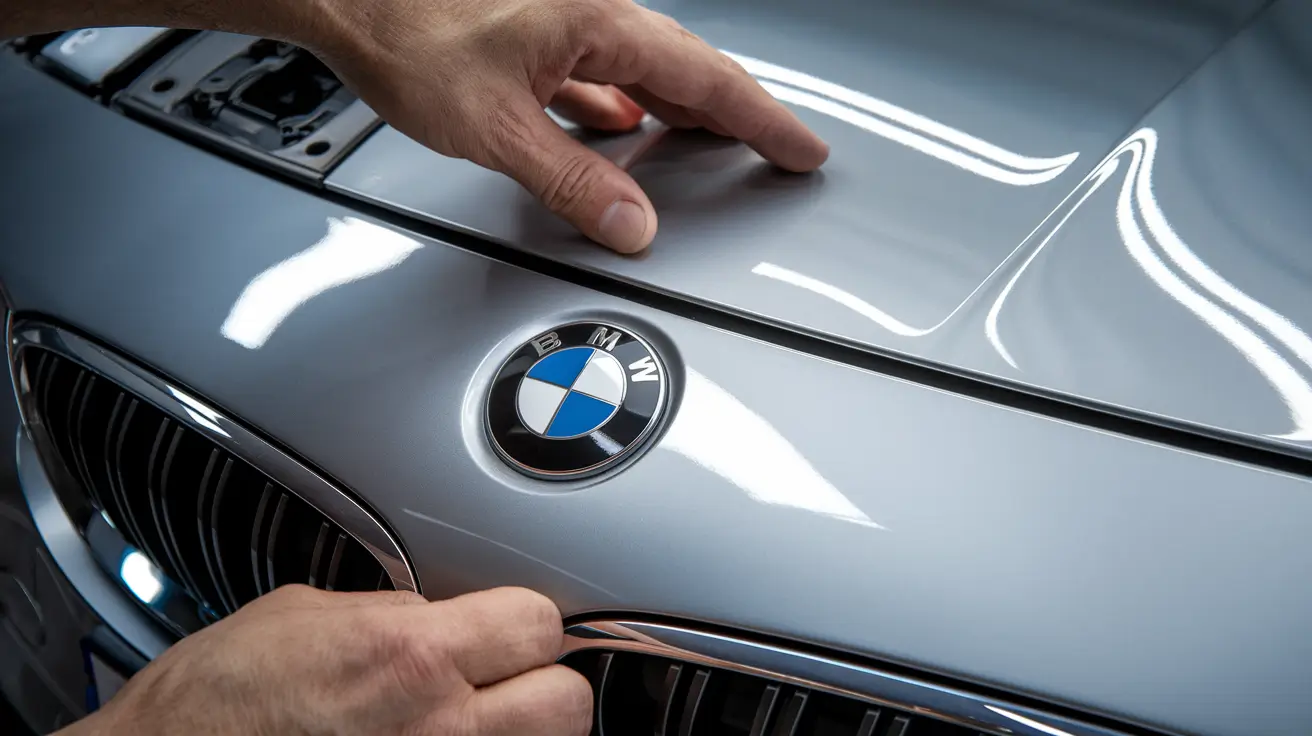
How To Install BMW 4 Hood Emblem? Easy DIY Instructions
Installing a BMW 4 hood emblem needs careful handling to keep your car looking great. The right installation ensures a sleek and polished look. You’ll need to prepare the hood surface and align the emblem with precision.
A well-installed BMW 4 hood emblem can greatly enhance your car’s appearance. Many car owners have successfully installed their own emblems. They used DIY guides and tutorials, like the one from BavAuto for replacing roundel emblems on BMW hoods and trunks. By following the right steps and using the right tools, you can get a professional-looking installation.
Required Tools and Materials for BMW Emblem Installation
To install a BMW emblem, you need the right tools and materials. This includes a credit card, screwdriver, and heat gun for removal. Also, having a new BMW hood roundel emblem is key for a smooth install.
Before you start, make sure you have all the tools and materials ready. This saves time and avoids any problems during the process. You’ll need a plastic pry tool, screwdriver, and microfiber towels for cleaning.
Essential Hand Tools
- Plastic pry tool
- Screwdriver
- Heat gun (for removal)
- Credit card (for removal)
Cleaning Supplies
- Microfiber towels
- Cleaning solution
Safety Equipment
- Gloves
- Safety glasses
With the right tools and materials, you’re ready to install your BMW emblem. Always follow safety rules and use the correct tools to protect your vehicle and the emblem.
BMW Hood Surface Preparation Steps
To get a good BMW hood emblem installation, you need to prepare the surface right. First, clean it to get rid of dirt, grime, and old adhesive. A clean surface helps the new emblem stick well, which is key.
Next, use painter’s tape to cover the paint around. This keeps the paint safe from damage or scratches. Proper surface prep makes the emblem installation go smoothly.
Here are some important steps for surface prep:
- Cleaning the surface with a mild detergent and water
- Removing any residual adhesive or debris
- Applying painter’s tape to protect the surrounding paint
By doing these steps, you’ll get a great BMW hood emblem installation. Your car will look professional and new.
Old Emblem Removal Process
Removing the old BMW emblem needs care to avoid hood damage. First, soften the adhesive with heat. This makes removing the emblem safe and easy.
For removing old emblem adhesive, the right techniques are key. A heat gun or hair dryer softens the adhesive. Then, use a plastic card or fishing line to remove the emblem without harming the hood.
Heat Application Methods
Several heat methods can soften the adhesive. You can use a heat gun, hair dryer, or warm cloth. But, apply heat carefully to avoid hood or paint damage.
Adhesive Residue Management
After removing the emblem, manage any leftover adhesive. Use a gentle adhesive remover or cleaning solution. Avoid harsh chemicals that can harm the hood or paint.
Surface Protection Techniques
To protect the hood, use surface protection techniques. Apply a protective film or cover to prevent scratches or paint damage. This ensures a safe and successful removal.
The cost of replacing the emblem varies. Hood badges start at $15.01, and trunk badges at $15.25. But, with the right tools and techniques, you can do it without spending a lot.
| Emblem Type | Price |
|---|---|
| Hood Badge | $15.01 |
| Trunk Badge | $15.25 |
| Grommet (each) | $0.42 |
| Roundel (each) | $3.50 |
How To Install BMW 4 Hood Emblem: Step-by-Step Process
To start, make sure you have all the tools and materials. This includes the new hood emblem and double-sided tape. Replacing the emblem needs care and patience for a great look.
Clean the area where the new emblem will go. Remove dirt and old tape. This makes sure it sticks well and looks even.
Then, line up the new emblem with the mounting bushings. Make sure it’s in the right spot.
The steps to install are:
- Put double-sided tape on the back of the new emblem, if needed.
- Match the new emblem studs with the bushings, ensuring proper placement.
- Press the emblem firmly into place, applying even pressure to avoid air bubbles or misalignment.
By following these steps and being careful, you can replace the hood emblem successfully. Handle the new emblem gently to avoid damage. With the right tools and patience, you’ll get a professional look that makes your car stand out.
Hood Surface Temperature Requirements
Installing a BMW 4 hood emblem needs the right hood surface temperature. The best temperature is between 60°F and 80°F (15°C and 27°C). This range helps the adhesive stick well to the hood.
Choose the right time for installation. Early morning or late afternoon is best when the sun isn’t too strong. Stay away from extreme temperatures like direct sunlight or freezing.
Optimal Installation Conditions
Make sure the hood is clean and dry before installing. Remove dirt, dust, or wax to help the adhesive stick. If it’s humid or rainy, wait until it’s dry.
Weather Considerations
Weather affects how well you can install the emblem. Don’t install in:
- Direct sunlight, as it can cause the adhesive to dry too quickly
- Freezing conditions, as it can affect the adhesive’s performance
- Humid or rainy weather, as it can compromise the adhesive’s bonding ability
By picking the right time and weather, you can install the BMW emblem successfully. This ensures a good bond and a clean finish.
| Temperature Range | Optimal Weather Conditions |
|---|---|
| 60°F – 80°F (15°C – 27°C) | Early morning or late afternoon, dry and clean hood surface |
Proper Emblem Alignment Techniques
Installing the BMW 4 hood emblem right is key for a top-notch look. To get BMW emblem alignment spot on, take your time and use the best methods. You can make guides with masking tape or something similar to line up the emblem with the hood’s shape.
Another way is to use the hood’s edges or alignment marks for hood emblem positioning. Aligning the emblem with these marks ensures a perfect fit. Also, try it out first without the adhesive to spot any problems and fix them.
Tools like calipers or an alignment jig can help with BMW emblem alignment. They help you measure and mark the emblem’s exact spot for a flawless fit. By using these methods and double-checking the alignment, you’ll get a pro-looking BMW 4 hood emblem install.
- Use temporary alignment guides to position the emblem correctly
- Utilize the hood’s existing features for reference
- Test-fit the emblem before applying adhesive
- Consider using specialized tools for precise alignment
Common Installation Mistakes to Avoid
Installing a BMW 4 hood emblem can be tricky. It’s key to avoid common mistakes that can mess up the installation. One big issue is making sure the emblem is straight and stuck right to the hood. If it’s not, you might end up with a misaligned emblem.
Other mistakes include using the wrong amount of adhesive, placing it wrong, and applying uneven pressure. These errors can cost you a lot and might even mean you have to replace the emblem. To steer clear of these problems, always follow the manufacturer’s guide and be careful when you’re installing.
Adhesive Application Errors
Using too much or too little adhesive can cause the emblem to not stick well. It’s important to use just the right amount to get a strong bond.
Positioning Problems
Putting the emblem in the wrong spot can make it look off. To avoid this, use a template or guide to make sure it’s aligned right with the hood.
Pressure Point Issues
Pressing too hard or unevenly can also cause the emblem to not stick well. Make sure to apply even pressure for a strong bond.
Knowing these common mistakes and taking the right steps can help you install your BMW 4 hood emblem correctly. This way, you can avoid expensive fixes or having to replace it.
| Common Mistakes | Consequences |
|---|---|
| Adhesive Application Errors | Weak bond between emblem and hood |
| Positioning Problems | Misaligned emblem |
| Pressure Point Issues | Weak bond between emblem and hood |
Post-Installation Care Instructions
After putting your new BMW 4 hood emblem on, it’s key to take care of it right. The adhesive needs time to cure, so don’t expose it to extreme heat or harsh cleaners for a few days. For keeping it clean, use mild soap and water. Stay away from strong chemicals or rough materials that can harm it.
Looking after your BMW emblem is important to avoid damage and keep it stuck to the hood. Don’t use high-pressure washes or strong cleaners, as they can weaken the adhesive. Instead, gently clean it with a soft cloth and mild soap. Dry it well to avoid water spots. For post-installation maintenance, check the emblem often for any damage or wear. Fix any problems quickly to stop them from getting worse.
Here are some tips for cleaning and caring for your BMW 4 hood emblem:
- Use a mild soap and water to clean the emblem
- Avoid using harsh chemicals or abrasive materials
- Dry the emblem thoroughly to prevent water spots
- Inspect the emblem regularly for signs of damage or wear
| Cleaning Product | Recommended Use |
|---|---|
| Mild soap and water | Regular cleaning |
| Soft cloth | Drying and polishing the emblem |
By following these care tips, your BMW 4 hood emblem will stay in top shape. It will keep looking great on your car. Always be gentle with the emblem and avoid extreme temperatures or harsh cleaners that can damage it.
Conclusion
Installing your BMW 4 Series hood emblem is now done. You’ve learned how to do it right through this guide. Remember, paying close attention and being patient are important.
Getting the surface ready, removing the emblem carefully, and aligning it right are key. The Beamer Shop has great emblem products. They offer free shipping and quick delivery, making it easy for BMW fans.
Now, your BMW 4 Series hood emblem is in place. You can be proud of how your car looks. The joy of a job well done will show every time you see your car. Enjoy the fruits of your labor.
FAQs
What tools and materials are needed for installing a BMW 4 hood emblem?
You’ll need plastic pry tools, screwdrivers, and cleaning supplies like isopropyl alcohol. Don’t forget safety gear like gloves and eye protection.
How do I prepare the BMW hood surface for the new emblem?
First, clean the hood surface well. Then, remove any old adhesive. Use painter’s tape to protect the paint around the area.
What is the proper process for removing the old BMW 4 hood emblem?
Start by applying heat to soften the adhesive. Carefully pry off the old emblem. Then, manage any leftover adhesive on the hood.
What are the key steps for installing the new BMW 4 hood emblem?
Handle the new emblem carefully. Apply adhesive or double-sided tape. Make sure it’s placed correctly and aligned well.
What temperature conditions are ideal for installing a BMW 4 hood emblem?
The surface temperature should be just right for adhesive bonding. Check the weather forecast to plan the best time for installation.
How can I ensure perfect alignment when installing the BMW 4 hood emblem?
Use temporary guides for alignment. Refer to the hood’s contours. Special tools can help with precise positioning.
What are the common mistakes to avoid during BMW 4 hood emblem installation?
Avoid mistakes like wrong adhesive application and misalignment. Also, be careful not to apply uneven pressure.
How should I care for the newly installed BMW 4 hood emblem?
Let the adhesive cure properly. Be careful in the first few days. Follow long-term care tips to keep the emblem looking good.

